Customer Refund Check
A refund usually involves a customer putting a down payment on product and then cancelling, or a customer being given a discount because of a damaged product or poor service. In either case, they previously paid and now require a refund.
There are three major ways to refund a customer
- Refund the customer directly from the cash drawer
- Send it to AR, so it becomes a credit on their account
- Have the accounting department send them a refund check
Refund the Customer directly from the Cash Drawer
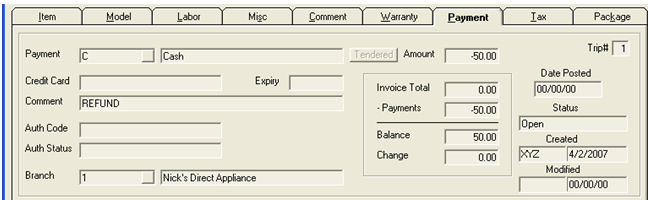
While in invoicing detail, add a payment line. Make sure the amount is negative. You are giving the person money back. On the Invoice Posting report, this will show as a negative payment and reduce the amount in the cash drawer.
Send it to AR AS A Credit on their Account
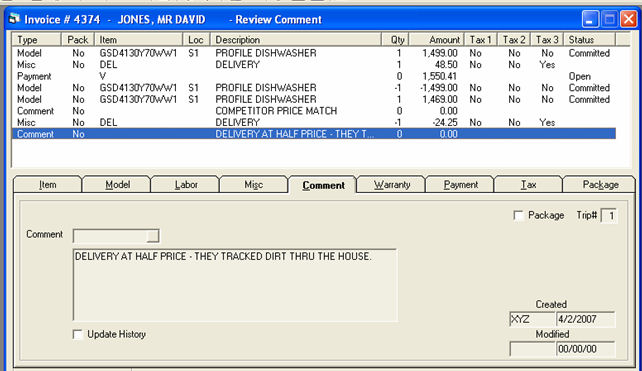
Finish the invoice as usual. It should currently have a credit balance.
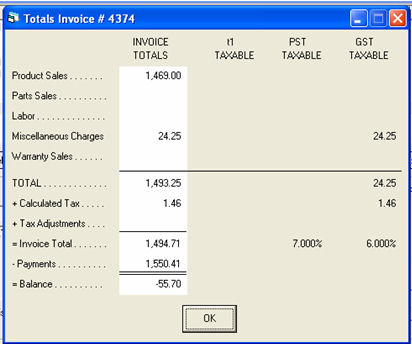
After invoice posting and AR posting, this will show as a credit on their account.
Have the Accounting Department send them a refund check
Salesperson: Follow the same steps as in Send it to AR as a credit on their account.
Accounts Receivable: Run an Aged Trial Balance with the following options:
- Report Type: select Detail
- Print For: Credit Balance Only
- Include Transactions for Open Invoices: True A/R – No Deposits from Open Invoices
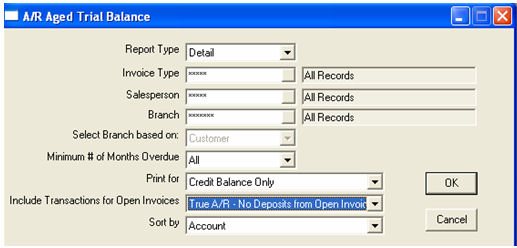
This report will show all customers that are owed a refund, or have a true credit on account.
The next step is going to remove the credit from the customer's AR balance.
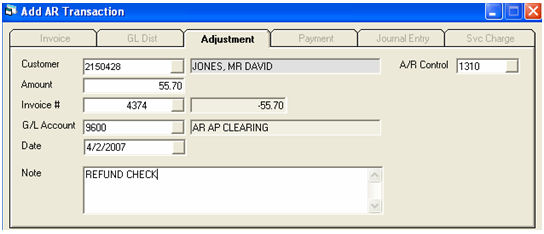
Adjustment
Transaction Processing > Add > Adjustment
Amount: This should be a positive amount as the invoice balance should be negative.
Invoice #: As you enter the invoice number, the balance will be shown to the right. This balance should be opposite of the amount entered above.
G/L Account: The account used here should be a clearing account, and it will be the same account used in AP Transactions.
Quick Pay
A Quick Pay is the easiest way of processing the refund check.
Transaction Processing > Add > Quick Pay
For supplier, select MISC; the MISC supplier has special features that will allow you to key in the full name and address of the person you are sending the check to, plus it will be in AP History.
For invoice number, it is advisable to key in the sales invoice number.
For the note, it is advisable to key in ‘Refund check’ or something similar.
For the G/L account, you should be using a clearing account, and it will be the same account used in AR Transactions.
![]()
After OK, when you select Print Check, a window will appear asking for the name and address to print on the check. There is also a button on this screen that will retrieve the name and address from invoicing as long as the invoice number was keyed in correctly.
December 30, 2021