Accounts Payable - Weekly Procedures
There are generally two different ways of using the Accounts Payable system. You do not need to strictly choose one method over the other. The two methods combined as one may be more appropriate to some suppliers than others.
Method 1 Doing Check Runs: Each invoice is keyed into the system with the appropriate due date and then every week or so you will run checks and the system will direct you as to what needs to be paid.
Method 2 The Quick Pay System: You will keep invoices in a file until 'you' want to pay them and, at that time, key in a Quick Pay, which is the same as keying in both an invoice and a check all in one transaction. This method also prints checks but expects you to keep track of your payables. This method does not work very well when you are paying multiple invoices with one check.
Why combine the methods? You may decide that you want to use method 1 for most of your payables but you will use method 2 for bills that need to be paid right away such as utilities, manual checks and other sundries. Quick Pay is also a very good method for goods purchased using a company credit card. There are no restrictions and both methods affect the GL the same; it is just personal preference.
Steps:
-
Key in transactions
-
AP Posting
-
Check run
Step 1: Key In Transactions
Transactions are not generally keyed in every day. There is typically not enough volume. Most companies allow the bills to collect for a couple days and then key them in all at once. As previously mentioned, some invoices will follow method 1 and some others may follow method 2. You can key them in all at the same time.
Method 1:
AP > Transaction Processing > Add > Invoice
For assistance keying in the invoice see AP Transactions - Add. Make sure the due date and discount information is correct so the check run will pay the bill on time.
Method 2:
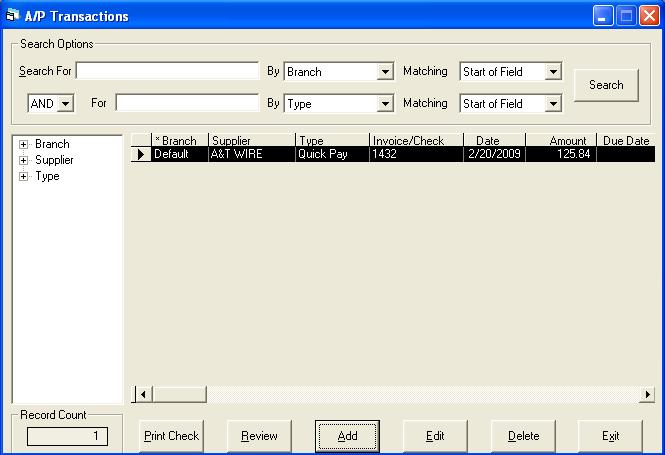
AP > Transaction Processing > Add > Quick Pay
For assistance keying in the invoice see AP Transactions - Add.
After you have entered the Quick Pay you may wish to print the check. Click the Print Check button on the bottom left of the screen.
After all the transactions are entered you are ready to go onto the next step (AP Posting).
Step 2: AP Posting
Once all the transaction have been entered it is time to post. See AP Post Transactions for details. Once the posting is done the transactions are available to be seen in the AP reports, history, check run etc.
Step 3: Check Run
The check run is comprised of a preliminary report (Cash Requirements List) to put invoices on hold and the actual check printing procedure. See Printing Checks for further details.