Defining Map Zones
This guide will help you draw your geographical zones on Google Maps in EPASS. From there, you can overlay those zones onto any of the other maps throughout EPASS. Also, if you choose to, you can have the zone automatically filled in for new customers, based on which zone their address falls into.
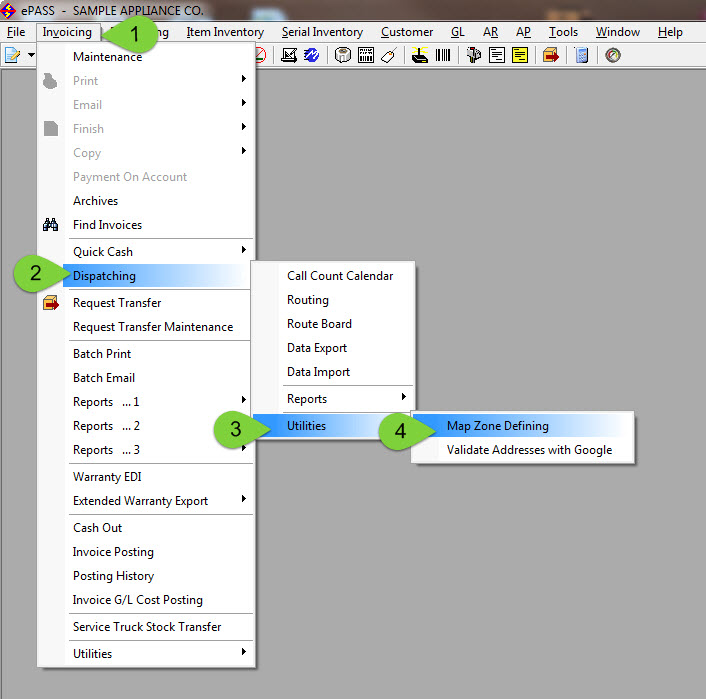
Step 1: Open "Map Zone Defining"
- Click Invoicing > Dispatching > Utilities > Map Zone Defining
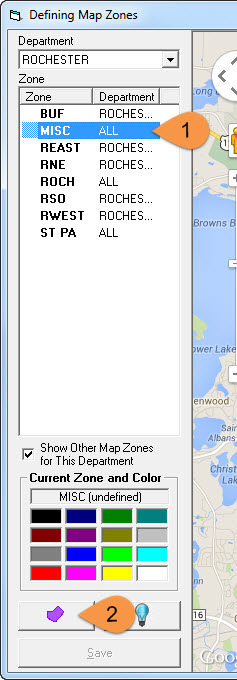
Step 2: Select Your Department and Zone, enter Edit Mode
- Select your department from the drop down menu, or if you do not use departments, then use "ALL"
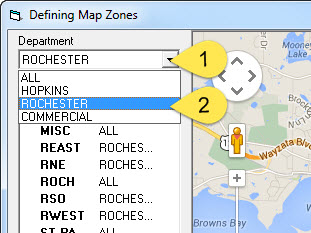
- Select your zone from the drop down menu
- Click the polygon shape button to enter edit mode
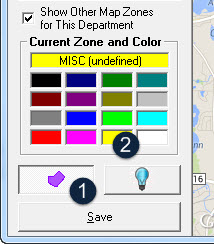
Step 3: Draw Your Zone, and Click Save when you are done
- Make sure you have clicked the polygon button to enter edit mode
- Select your color. This is optional. The default color is grey. For this example, I have selected yellow
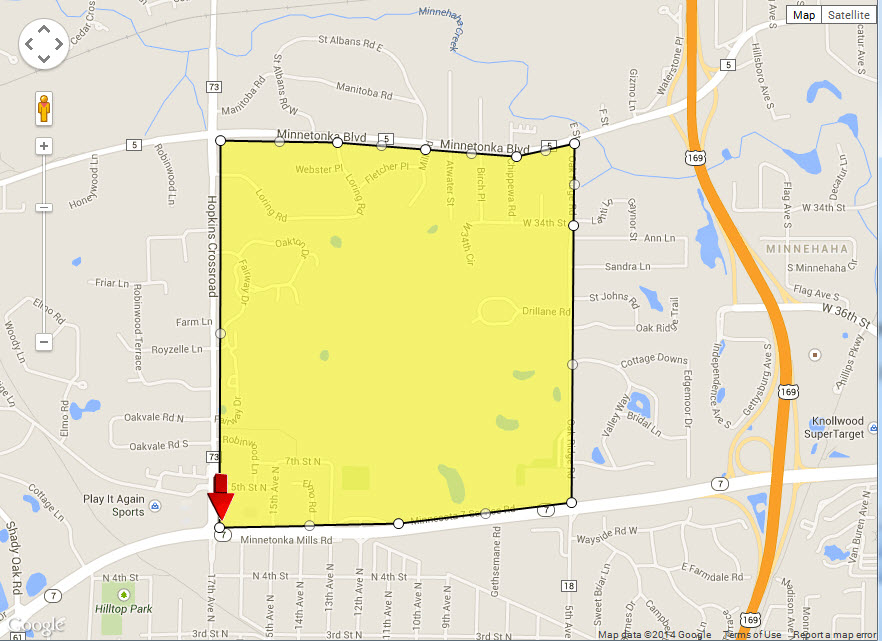
- Click anywhere on the map to plot your first point
- If you make a mistake, don't worry! Simply click the point that you just placed, and EPASS will remove that point from your zone
- After placing your first point, place additional points to draw out the rest of your zone. Think of it as drawing a shape on a paper map
- Between each two points that you create, there will be a potential "middle" point that is prepared by EPASS in advance, just in case you would like to make your zoning more precise
- These points can always be adjusted and re-adjusted to make your zoning as precise as you would like
- Simply left click and drag any of the points to adjust the zone
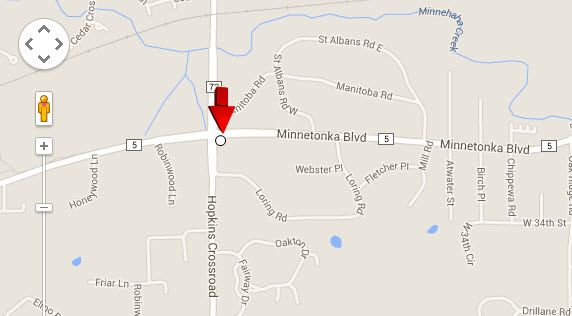
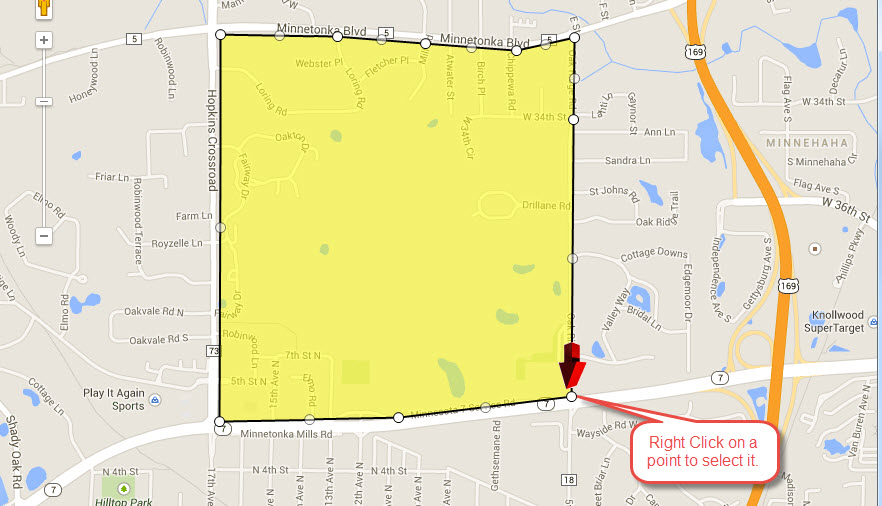
- To edit any of your points, simply right click on a point to select it
- Once the point is selected, a red arrow will indicate which point is the selected; the active point
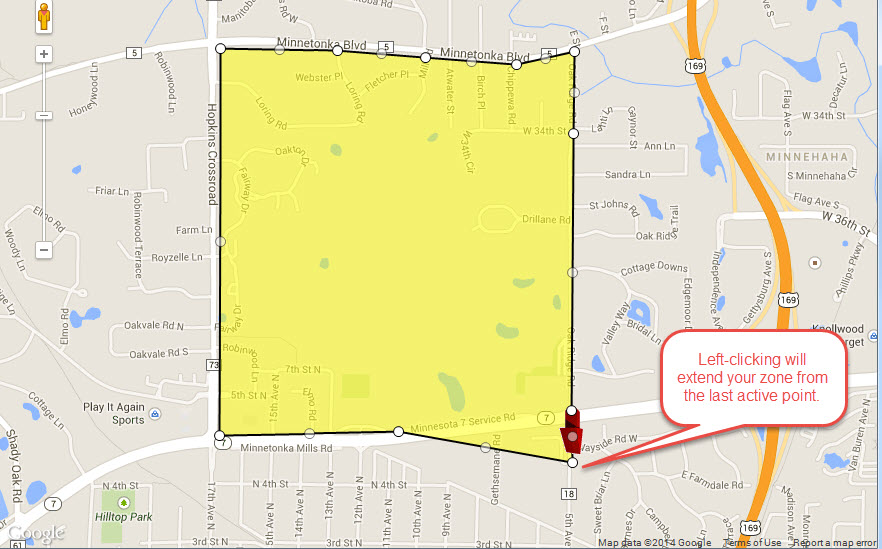
- From here, any left clicks will extend your created map zone from the point that is selected (shown by the red arrow)
- You can also hold down the left mouse button on the white circles, and drag the white circles to adjust them
- Click Save when you are done
Step 4: Defining Additional Zones
- Select the next zone that you would like to work on
- Draw your next zone on the map just like the last one. For this example, I have picked the color blue
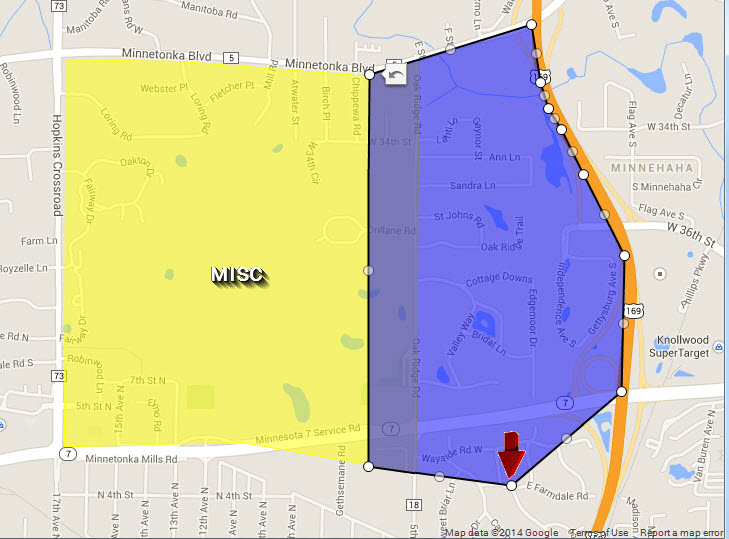
- In this example, I am adding a zone right next to my first one. This will cause part of the zone to overlap on the border. This overlap in the screenshot above is purely a visual example to show the overlap. A small overlap is recommended
- It is better to have zones that overlap at the border vs zones that have a gap in the middle
- If you have a call in the overlapped area, it will ask you to choose 1 of the 2 zones it could be in
- If you have a call in a gap between zones, you will have to manually enter which zone it is in
Step 5: Set New Customers to your Defined Map Zone (optional)
If you turn on this option, new customers will have their information stem from your defined map zones. If you leave this option off, EPASS will pull their information from the default city zones.
If you want to turn this option on, then follow these simple steps:
- Exit the Defining Map Zones window
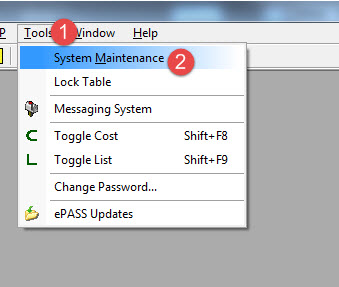
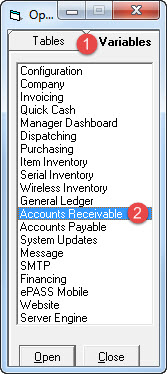
- Click Tools and then System Maintenance
- Click the Variables tab, then click Accounts Receivable
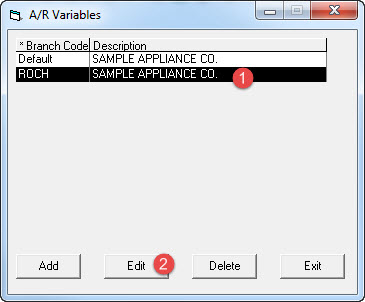
- Select the branch you would like. For this example, I will choose "ROCH". Then click Edit
- Click the Customer 2 tab, and check the box that says "Get Map Zone from Google Defined Zones"
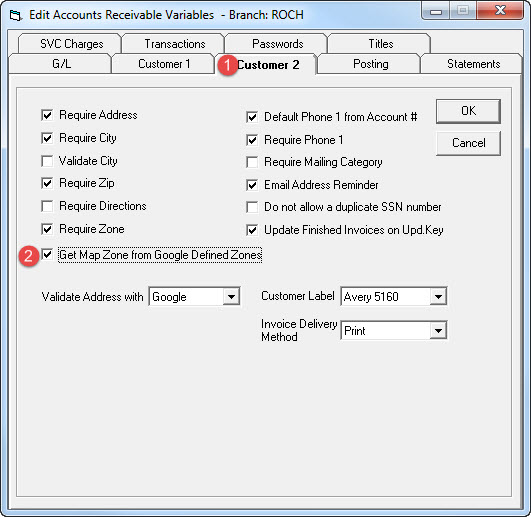
- Click OK
- Exit and restart EPASS for the new changes to take effect
Now, all new customers that are created will stem from your defined Map Zones.
Additional Feature:
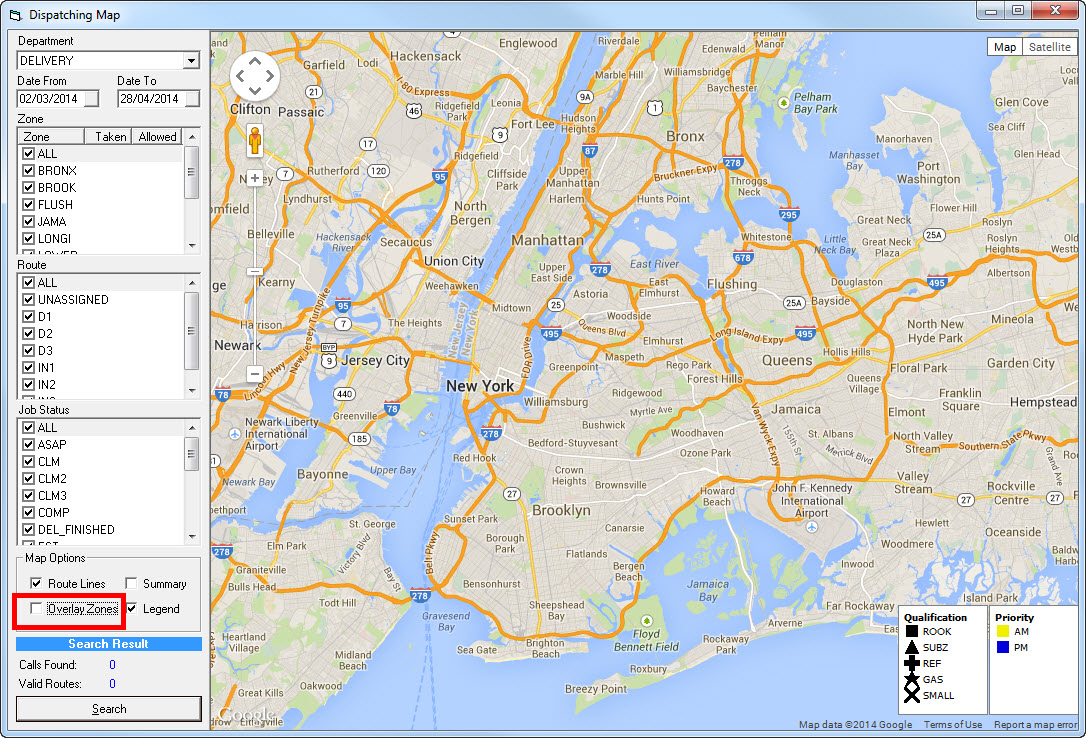
At any point while using EPASS, in any mapping screen, you can view the zones you have created!
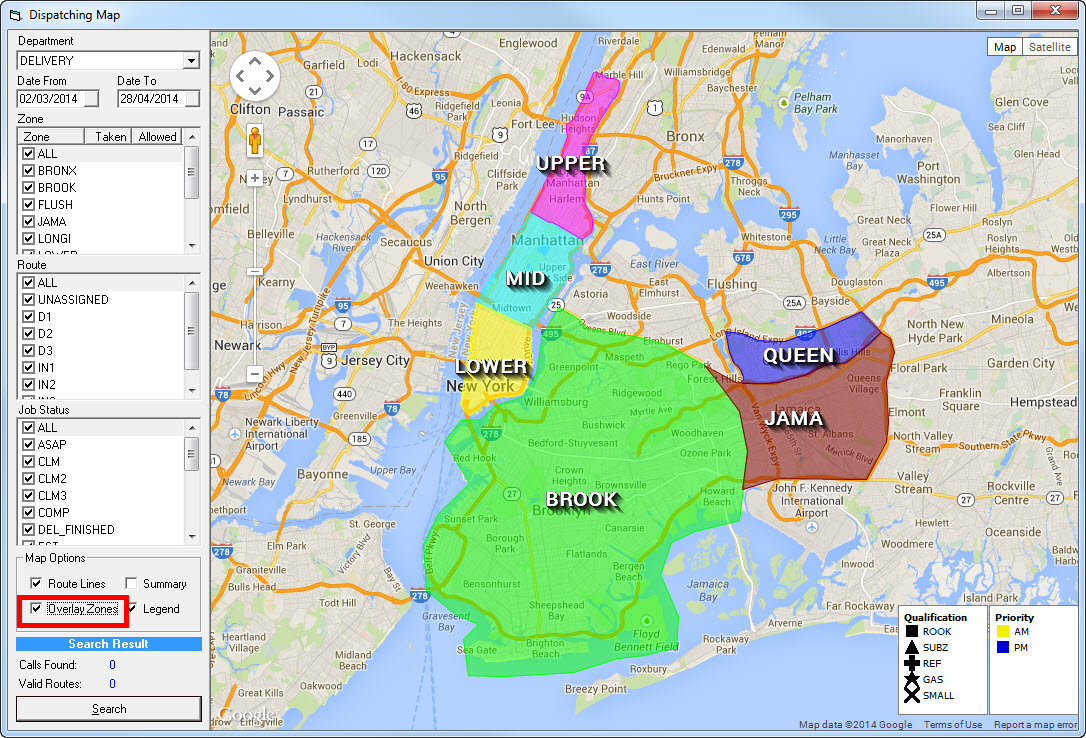
Simply check the "Overlay Zones" checkbox in any mapping screen.
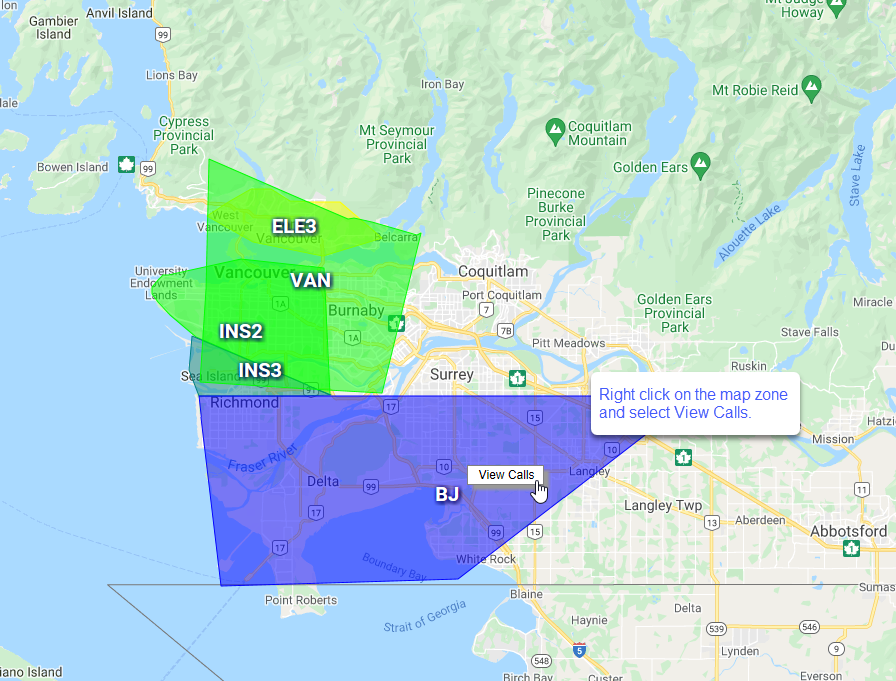
MAP ZONE LOOKUP
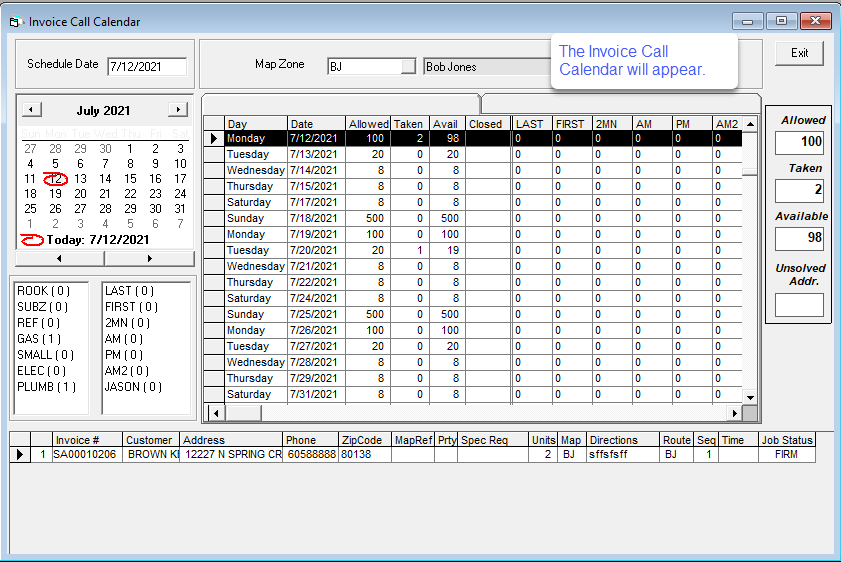
A new feature has been added to the Map Zone Lookup. This feature allows you to view the calls to see which days are available for delivery within the specific map zone.
Right click on the map zone and select View Calls.