Editing and Approving Your Contract
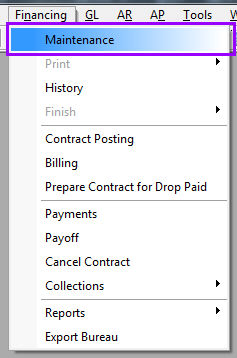
To view and edit the contract that was automatically generated during the invoicing process, go to Financing > Maintenance
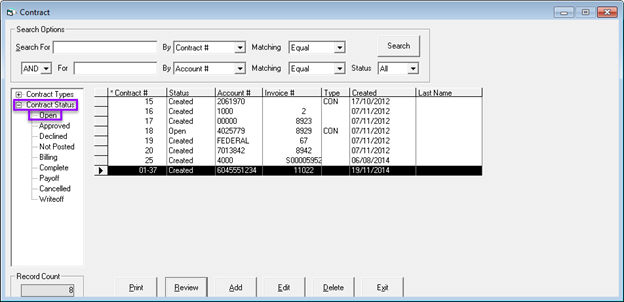
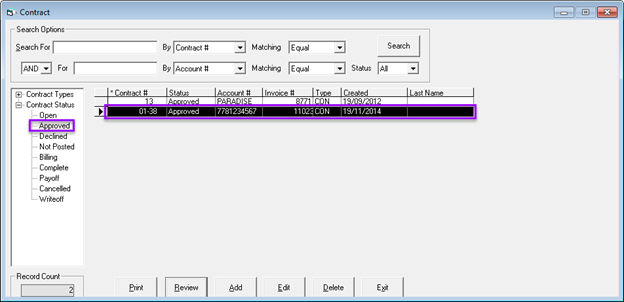
Search for your contract either by using the search boxes at the top of the screen or by selecting Contract Status and clicking Open to view all open contracts. Click Edit to make changes while the contract selected once financing has been approved.
Please note that contracts in “open” status can still be cancelled by changing the payment type in the invoice.
Personal Information Tab
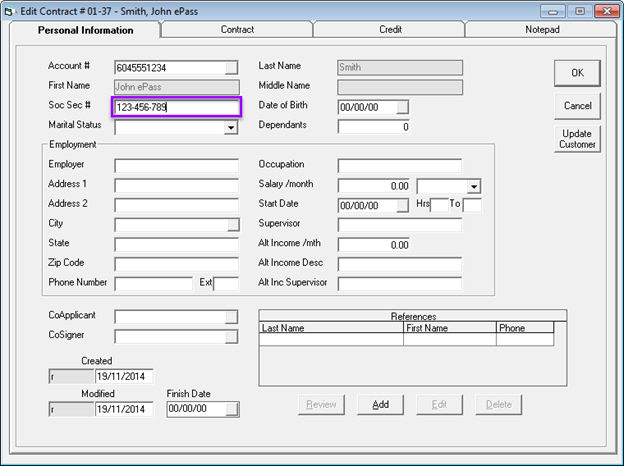
Enter the customer’s social security number, separated by dashes, if it has not already been filled in.
Contract Tab
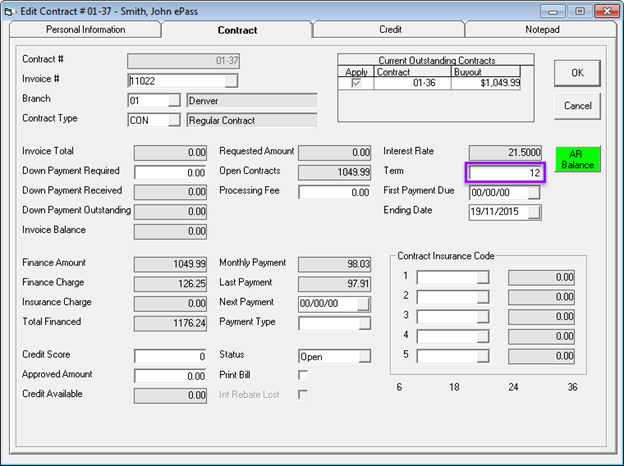
Adjust the contract term length in months.
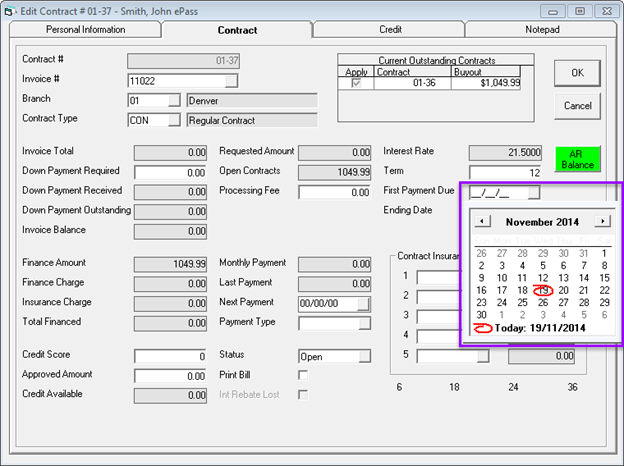
Select the first payment due date from the First Payment Due drop down menu. Note that the starting date cannot occur in the past and typically must be at 15-45 days from the current date (this will depend on your contract type settings in System Maintenance). Use tab on your keyboard to move out of the field and save the changes.
The Ending Date and Next Payment dates will automatically be populated once you have entered a term and first payment due date.
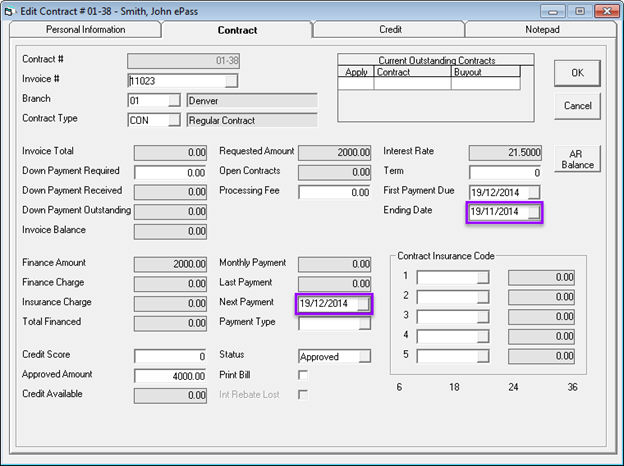
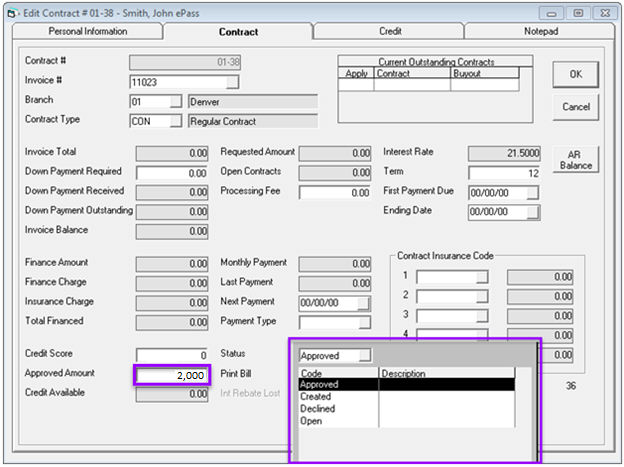
When the financing has been approved, enter the approved amount and change the contract status from Open to Approved.
You will see that your contract now appears in the Approved status section under Contract Maintenance.
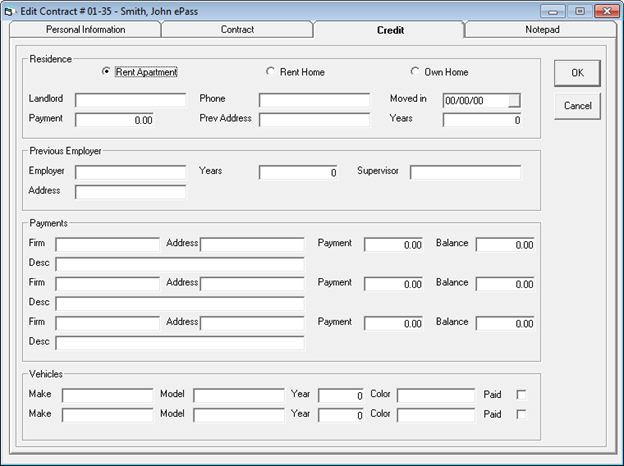
Credit Tab
Fill in information as required and/or desired.
Notepad Tab
Fill in information as required and/or desired.
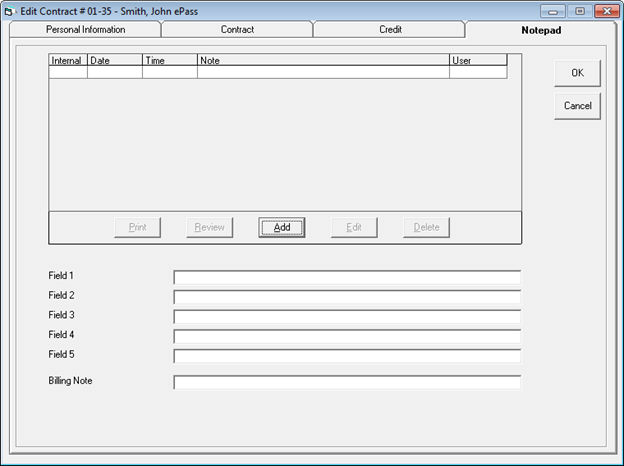
You can assign fields 1-5 as your own custom fields so that you may collect information that users are not already prompted to enter such as driver’s licence numbers.

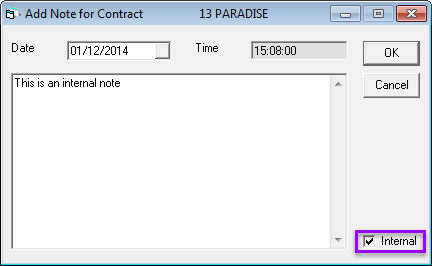
Click Add to add a custom note to the contract.

The Internal checkbox flags a new note as internal, meaning that only those within the company can view it. The checkbox will be selected by default; uncheck the box to set a note as external so that a customer may view it.