Exporting to Quickbooks
If you use Quickbooks, you can export the GL Journal entries in EPASS to an .iif file (Intuit Interchangeable File) which you can then import into Quickbooks.
Set Up
Before you can export your data, you need to:
- Add Accounts Receivable and Sales Tax information to the General Ledger variables table
- Enable two security options for the user groups that will export the GL journal entries.
To Add Accounts Receivable and Sales Tax to the General Ledger Variables Table
-
Go to Tools > System Maintenance. Click the Variables tab.
-
Select General Ledger and then click Open.
-
Do the following:
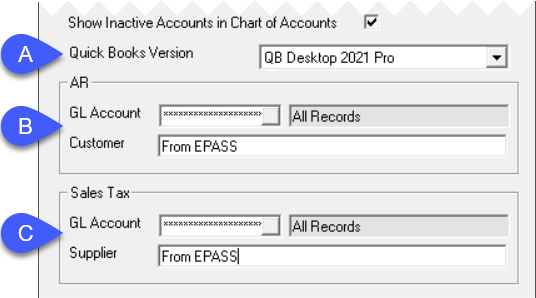
A Select your QuickBooks version from the drop-down list: QB Desktop 2013, QB Desktop 2021 Pro, or QB Online. B When exporting to QuickBooks there are two settings which must be configured. EPASS needs to know which GL Account is your AR Control GL Account, and you need to create a Customer in both EPASS and QuickBooks that match. We recommend the Customer Code in EPASS = “AR-EPASS” and make sure that this is the same name used in QuickBooks. C (For QB Desktop 2021 Pro only) Define the GL Account for Sales Tax Collected and the Supplier Code associated with this. The name you assign to this Supplier is what is exported to QuickBooks and must match your settings in QuickBooks.
In QuickBooks you cannot import transactions into a GL Account that ‘rolls up’ into another (a sub-account). Make sure that none of the GL Accounts you are importing from EPASS are sub-accounts.
- Click OK to close the General Ledger Variables table.
To Enable the Utilities: Export to QB Desktop IIF File Security Option
-
Go to Tools > System Maintenance. Select User Security, and then click Open.
-
Select a User Group from the list, and then click Security.
-
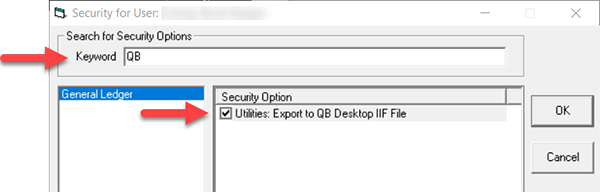
In the Keyword search box, enter QB. Make sure that Utilities: Export to QB Desktop IIF File is selected under Security Option.
-
Click OK.
Export IIF File
To Export the GL Journal Entries to an IIF File
-
Go to GL > Utilities > Export to QB Desktop IIF File.

-
Do the following:

A Enter a date range. B Select a folder where EPASS will export the .iif file. EPASS will always write a file named EPASS_QB_Export.iif to this folder. -
Click OK.
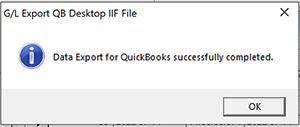
EPASS exports the journal entries to the .iif file and a confirmation appears when the export is complete.
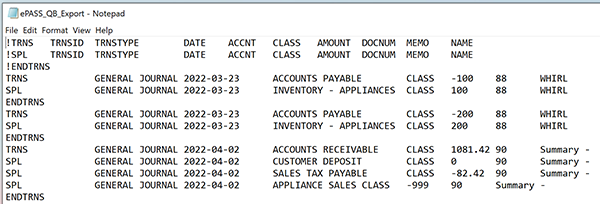
You can review the .iif file in Notepad before performing your QuickBooks import.
Example of the .iif file in Notepad
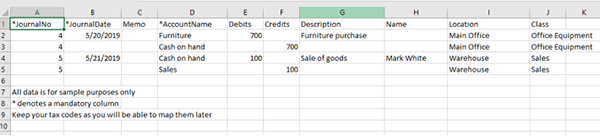
Example of the QuickBooks Online .csv file in Excel
See Also
November 9, 2022