Importing Supplier Data Files
Before following these instructions, we recommend you view About Serial Costing first.
In this method, you'll import the information that you need to cost from a data file (either an Excel file or an EDI file in CSV format). The data file will include the PO numbers, supplier invoice numbers, models purchased, quantity and costs.
Before Starting
- Before you can import the data file, you need to create a Supplier Invoice Template for each one of your suppliers.
Importing the Supplier Data File
-
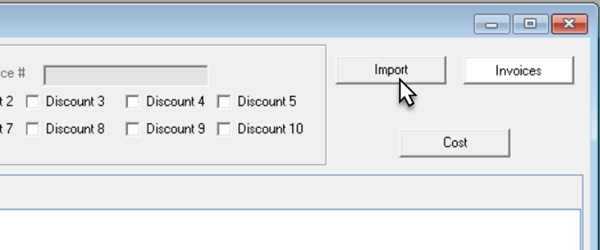
Go to Purchasing > Serial Costing. Click Import.
-
Select the Template code from the dropdown.

-
The Import Folder field is populated with the import folder path that was entered when the template was created. If this path isn't correct, you can change it here.
infoYou can select a single data file instead of a folder location if the invoice data is contained within one file. To do this, add the filename and extension to the end of the Import Folder path.

-
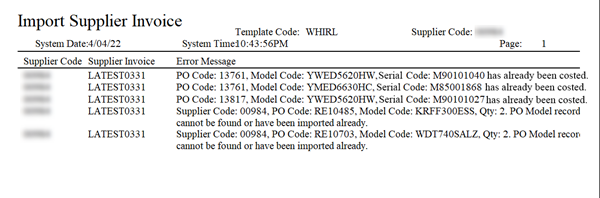
Click OK. A PDF opens reporting any errors or exceptions with the import.
 info
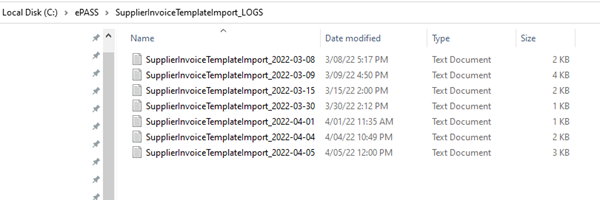
infoThe import utility creates a log file during the import process, which is stored in your EPASS folder.
-
Repeat steps 1–4 to import invoices from additional suppliers.

-
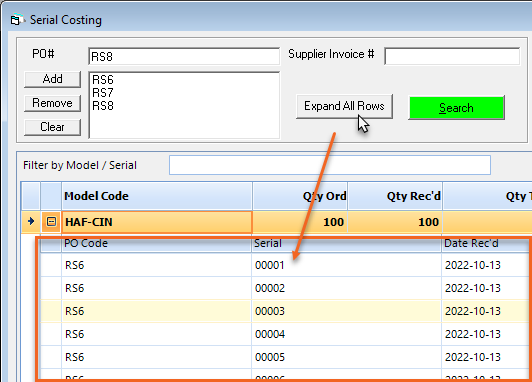
The model data from each PO is loaded into the Serial Costing screen.
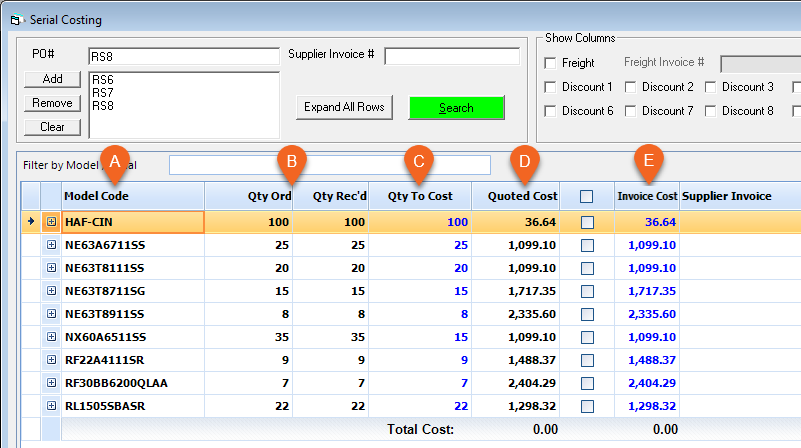
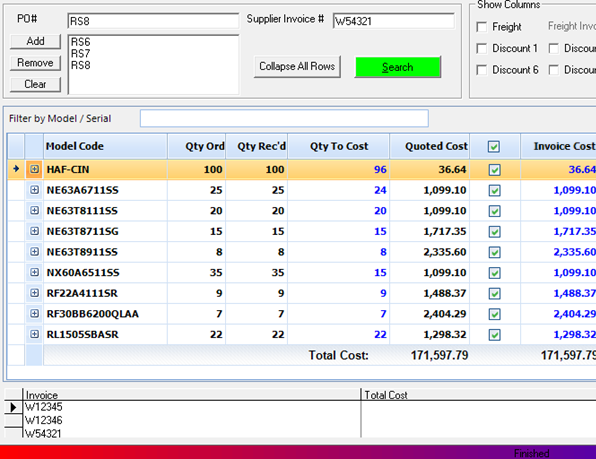
The Serial Costing screen is broken up into several columns of information:
A Model Code Each model that was ordered on the POs. B Qty Ordered/Qty Received The quantity ordered and received. C Qty to Cost The quantity of serials that need to be costed. D Quoted Cost The quoted cost for each model. E Invoice Cost The original invoice cost. -
Click Expand All Rows to view the serials for each model.
Costing Each Serial
Starting with the first model in the Serial Costing window, follow this method to cost.
-
Verify that the amounts shown in Quoted Cost and Invoice Cost are the same.
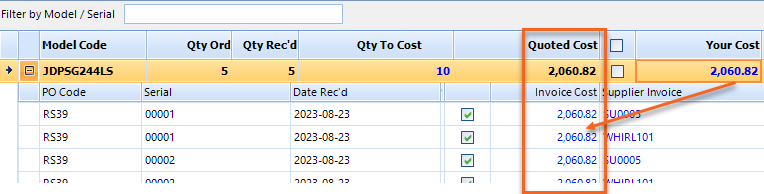 tip
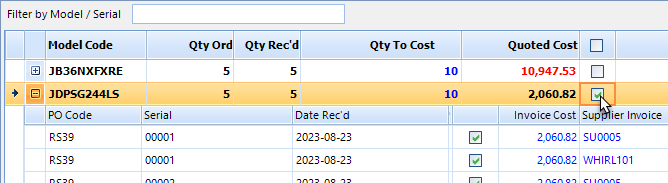
tipAny discrepancies between the Quoted Cost and Invoice Cost amounts are highlighted in red.

-
Click the model's Cost checkbox.
-
Move on to the next model and then repeat steps 1 and 2.
infoIf you don't want to cost a serial, clear its Cost check box. Any serials that do not have their Cost checkbox selected will not be costed. If there are any errors during the costing process (for example, Model record is locked), error messages are displayed in the white box above the progress bar.
-
When you are finished, click Cost.

-
The Add AP Transaction window opens. Verify that all the information is correct in this window. If necessary, enter a Cost Center for each Distribution line. Click OK and repeat for any additional Add AP Transaction windows that open.
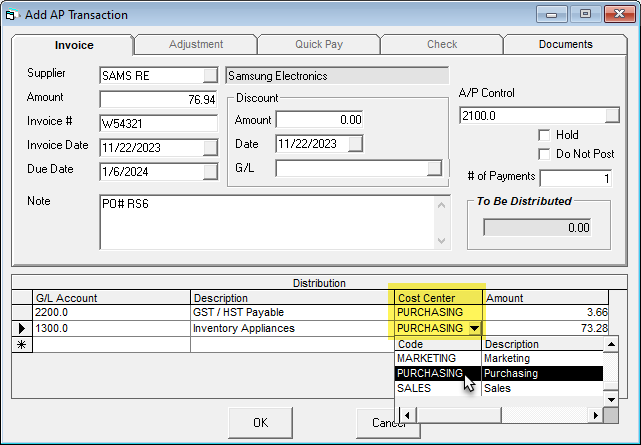 info
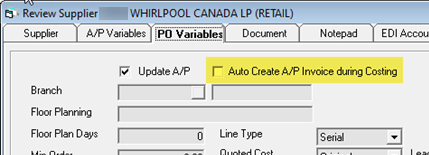
infoIn each Supplier’s settings (Supplier record > PO Variables tab) you can select to auto create the AP transaction without displaying it on screen. Make sure that you are comfortable with the settings before enabling this option.
The costing process is now complete.
See Also
- About Serial Costing
- Scheduling an Automatic Import of Supplier Invoice Data Files
- Creating a Supplier Invoice Template
June 18, 2025