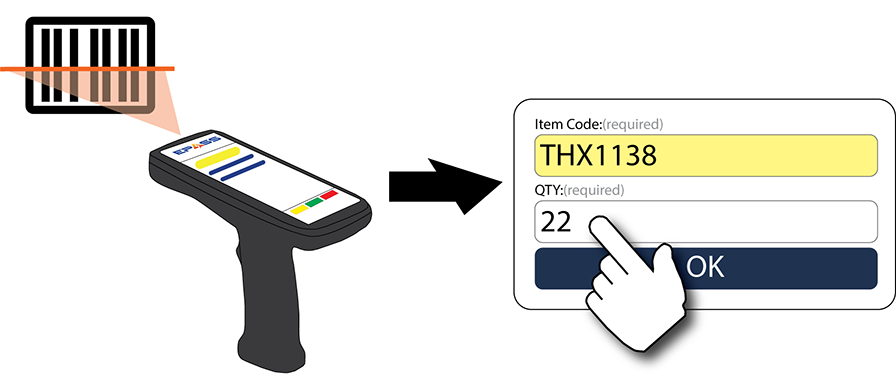
General Operation
-
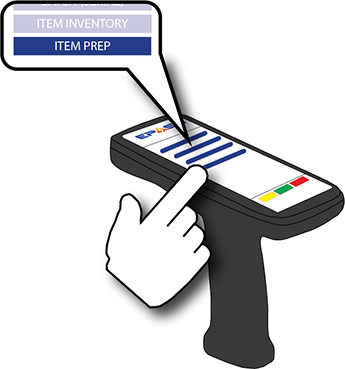
Tap a Command.
-
Follow prompt.
-
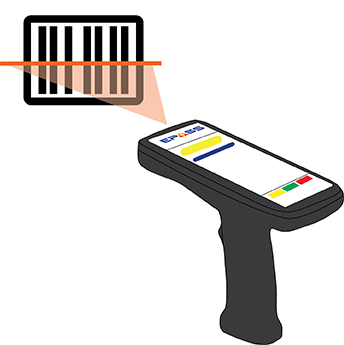
Scan.
This is the multi-page printable view of this section. Click here to print.
Tap a Command.
Follow prompt.
Scan.
Tap Shipping.
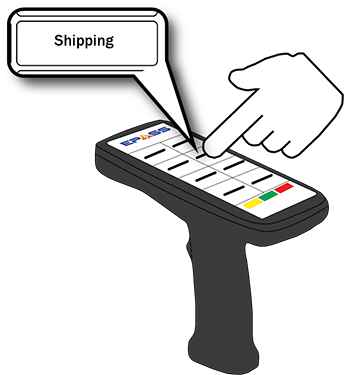
Scan the Invoice barcode.
Scan each serial barcode.

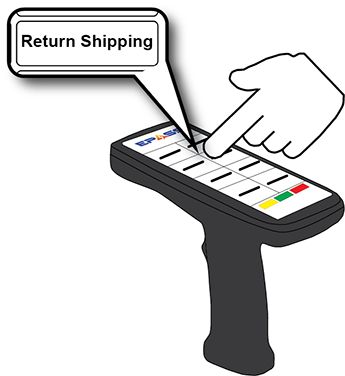
Touch Return Shipping.
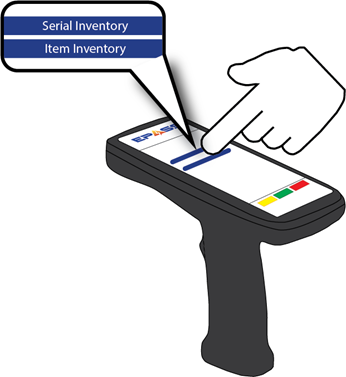
Tap Check Stock.

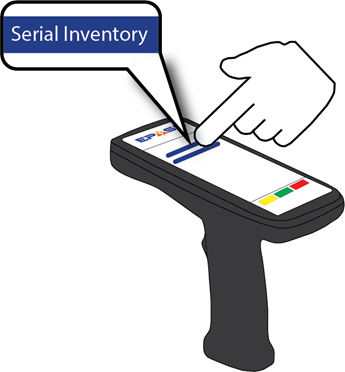
Tap Serial Inventory or Item Inventory.
Select options.

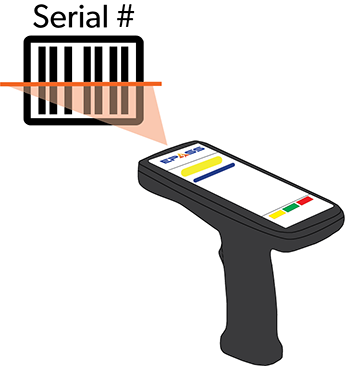
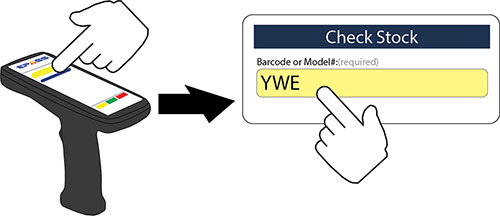
Scan the serial or item barcode.

If you don’t have a barcode or the full model number, you can still check the stock by entering part of the model number, and then selecting from a list of matching models.
Tap Check Stock.
Tap Serial Inventory or Item Inventory.
Enter the partial model number.
Select options.
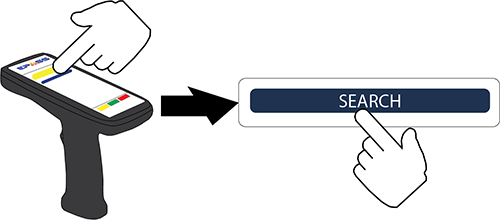
Tap Search.
To add or delete serial pictures, you need to assign two security options to the user account:
Pictures. Select the two security options.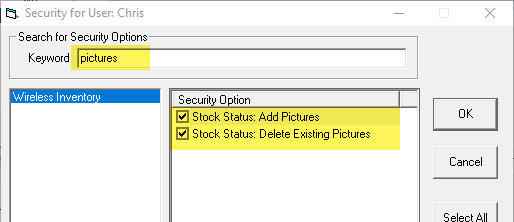


The picture gallery opens:
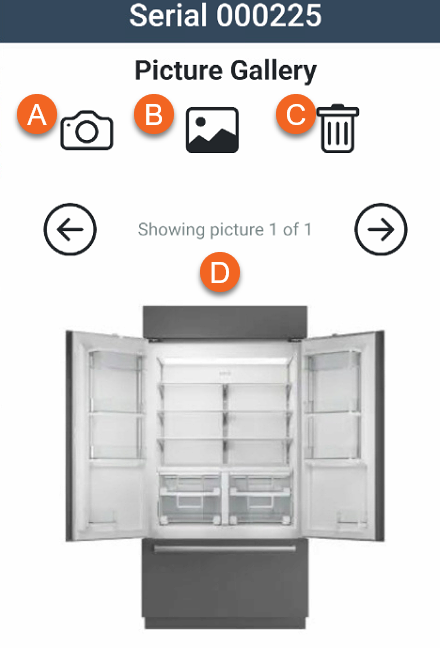
You can do the following from the picture gallery:
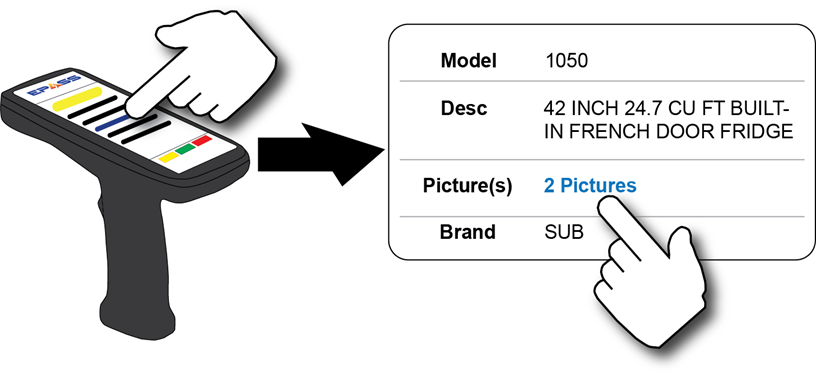
Tap Check Stock.
Tap Serial Inventory.
Scan or enter the serial’s barcode.
Tap the Pictures link.
Tap the Camera icon to enable the device camera.
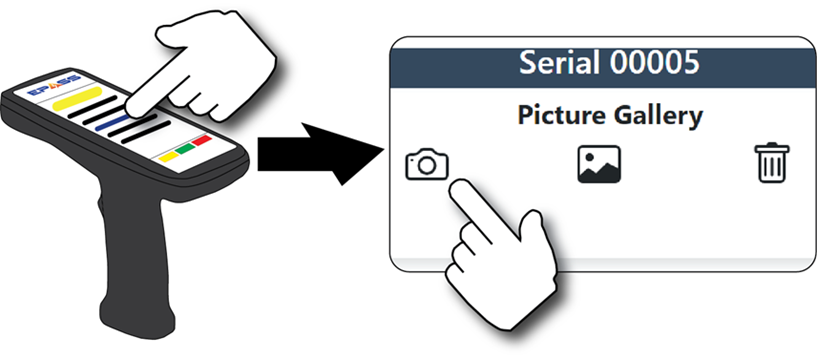
Take a picture with the camera. The picture is automatically uploaded to EPASS and added to the serial.
You can make changes to a serial’s type, unique price, and add notes, directly from the scanner. This can save you time if you handle used or damage product. For example, once you’ve determined a serial is going to be discounted due to damage, you can scan it and then immediately update it’s serial type and unique price through through the scanner without having to log into an EPASS terminal.
Editing each serial field (Type, Unique Price, and Notes) is controlled by a separate security option. You’ll need to assign each security option to the user accounts or groups that need to edit these fields.
In EPASS, go to Tools > System Maintenance. On the Tables tab, select User Security, and then click Open.
Select a User or Group from the list, and then click Security.
In the Keyword search box, enter stock status: edit. Select each security option that the user requires:

Click OK.
Tap Check Stock.

Tap Serial Inventory.
Scan or enter the serial’s barcode.

Tap the Serial Type, Unique Sell Price, or Notes field and enter the updated information.
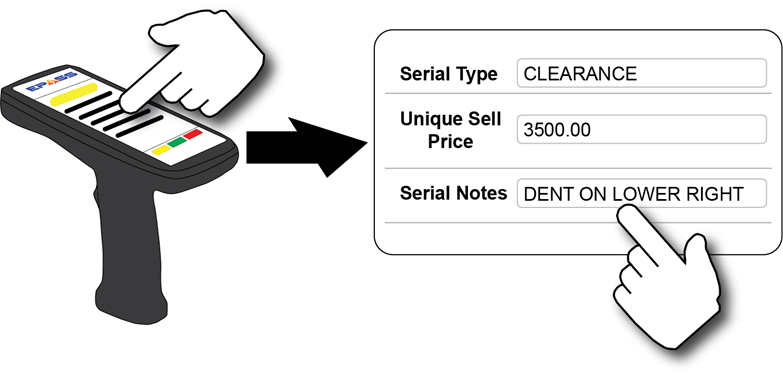
Tap Save.

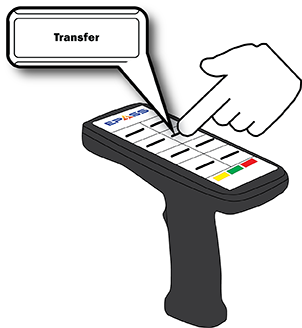
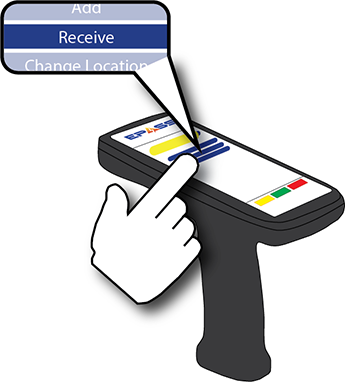
Tap Transfer.
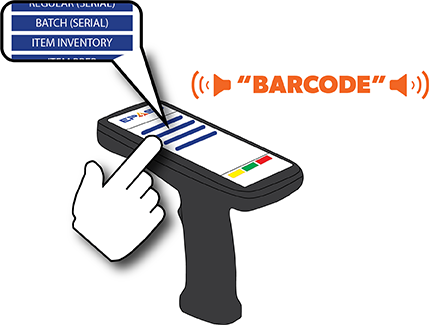
Tap Regular (Serial).
Scan or enter the location that you are transferring the serial to.

Scan the serial barcode.

Tap Transfer.
Tap Batch (Serial).
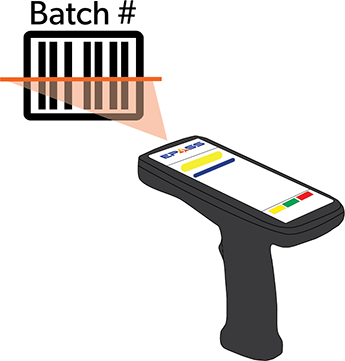
Scan the batch #.

Scan or enter the location that you are transferring the batch to.

Tap Transfer.
Tap Item Inventory.
Scan or enter the location that you are transferring the item from and the location you are transferring to.
Scan the item barcode and enter the quantity that you are transferring.
Tap OK.
Tap Transfer.
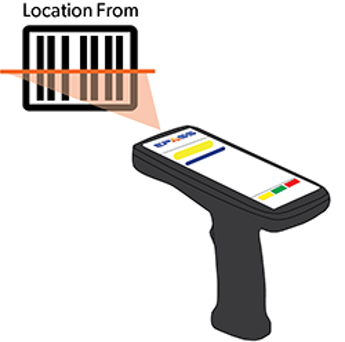
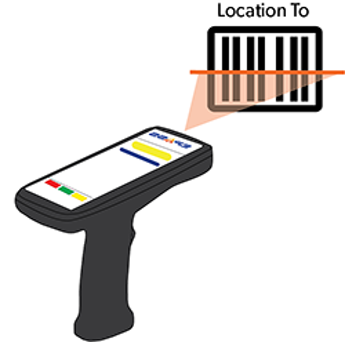
Tap Item Prep.
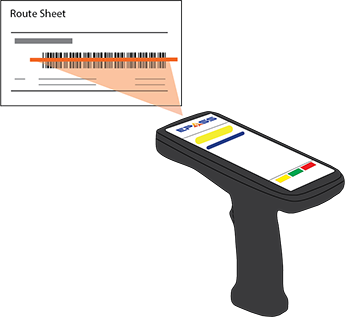
Scan the service invoice barcode.

Scan the item barcode.

Scan or enter the item’s current location.
Scan or enter the route where you’re transferring the item to.
Repeat step 2–6 for each item on the invoice.
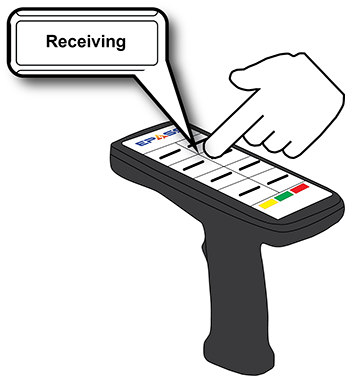
Touch Receiving.
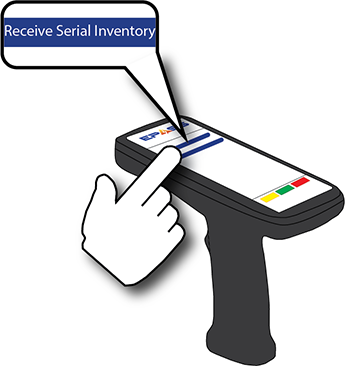
Touch Receive Serial Inventory.
Scan the serial inventory label that was printed from EPASS.

Scan or enter the product serial number.

Touch Receiving.
Touch Receive Items.

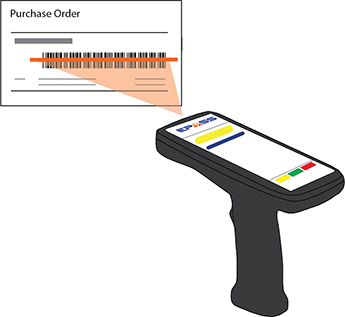
Scan or enter the PO#.
If you have additional POs, scan or enter their numbers to add them to the receive.
Once you’ve added all POs, touch Receive.
Select the option to print a label.

Scan or enter the item number.
Enter the quantity received.
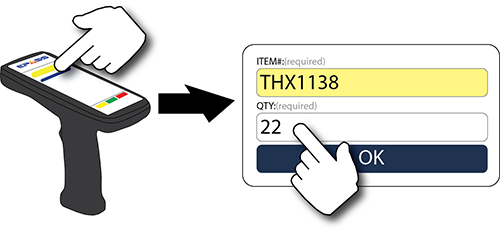
Touch OK.
If there are additional items on the PO to receive, repeat steps 5–8, or touch Home to exit.
Touch Receive Transfer.
Scan the transfer batch #.
Scan the location code that you are transferring to.

Scan each barcode assigned to the batch until the receive transfer is complete.

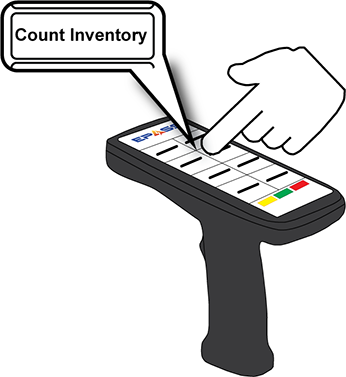
Tap Count Inventory.

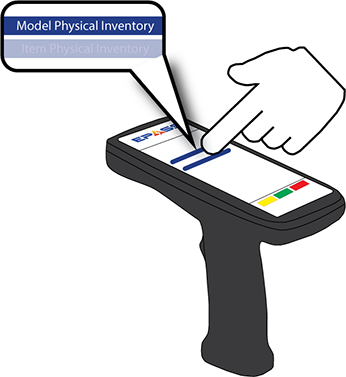
Tap Model Physical Count.
Scan or enter the Location.

Scan the model barcode to count it.

Tap Count Inventory.
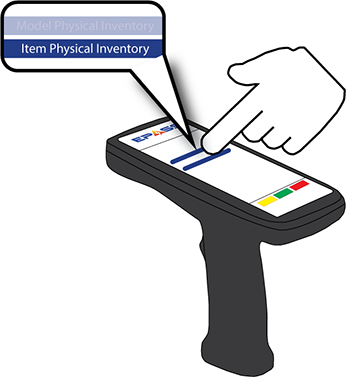
Tap Item Physical Count.
Scan or enter the Location.

Scan the item barcode and enter the QTY that you are counting.