Updated April 28, 2025
Click to Pay requires some initial configuration steps before it can be used to generate payment links.
You'll need:


| A | Enter the URL address where your Click to Pay page is hosted. |
| B | Enter your Click to Pay Profile ID. |
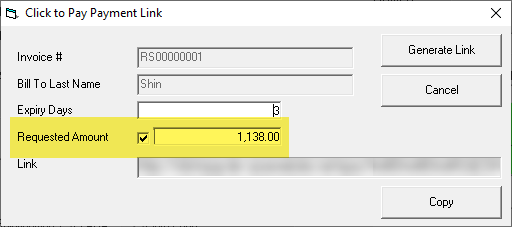
| C | If necessary, change the default number of days the authentication token is valid for. If the authentication token expires, the user can still follow the link to pay their invoice, however, they will need to manually enter their name and invoice number at the payment portal. |

Note: If you set the Token Validity Days to 0, the Click to
Pay link is generated without an authentication token.
Click to Pay URL links are “shortened” using the TinyURL service. You can choose to disable this service and instead have Click to Pay generate an “expanded” URL link.
Note: Some network services and business block shortened URLs. If
your Click to Pay recipients are having trouble receiving shortened URL
links, you may need to disable URL shortening.

| A | Click to enable or disable URL shortening. |
| B | This is how long EPASS will wait for a response from the TinyURL service. If a response isn’t returned in time, an error is generated. We recommend leaving this set to 5 seconds, but if you have a slower internet connection or are experiencing multiple timeout errors, you can try increasing the time. |
| C | Select this checkbox if you want to use shortened URLs in your staging environment. |
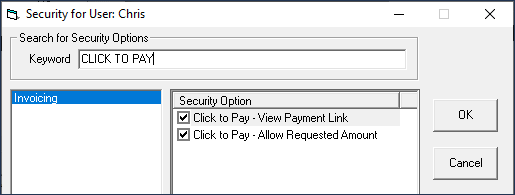
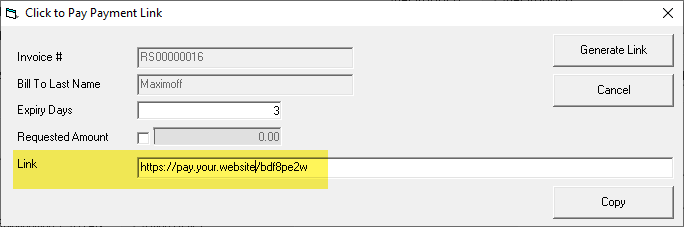
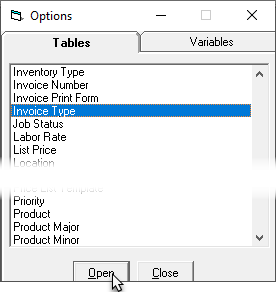
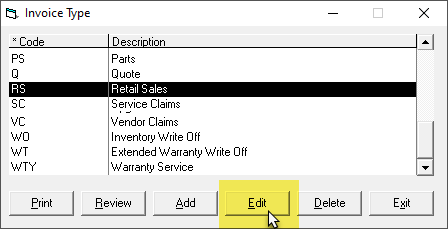
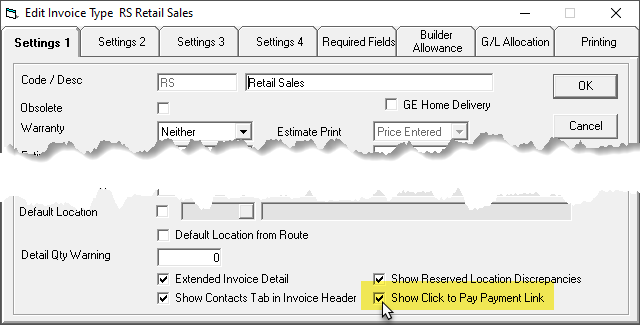
By default, Click to Pay is disabled for all Invoice Types. You'll need to decide which Invoice Types can generate Click to Pay payment links and then activate the Click to Pay feature in each one.
A unique Payment Type for Click to Pay payments must be added to EPASS. EPASS links all payments received through Click to Pay to this Payment Type code.
Follow these instructions to add a Click to Pay Payment Type.
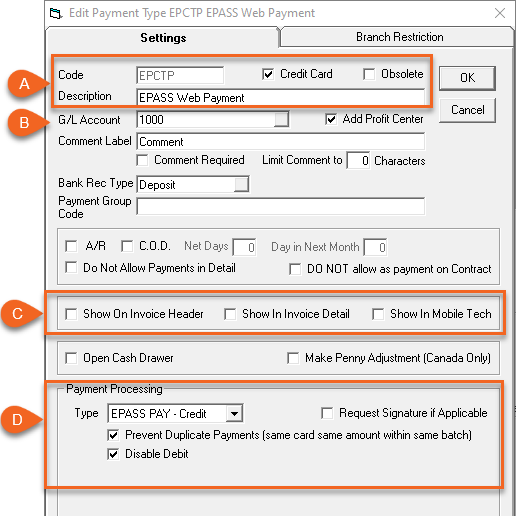
| A | Enter a Code and Description. We recommend using code EPCTP. |
| B | Select the G/L Account that this payment type should link to. |
| C | Clear all of these checkboxes so that EPCTP isn’t an available payment option in the Invoice Header, Invoice Detail, or Mobile Tech. |
| D | Select EPASS Pay – Credit from the Type dropdown. |
Note: Prevent Duplicate Card
Payments is used for fraud prevention, and we recommend that this
setting is always selected.