
Note: Before you can generate a payment link, you need to configure Click to Pay.
Updated April 25, 2025
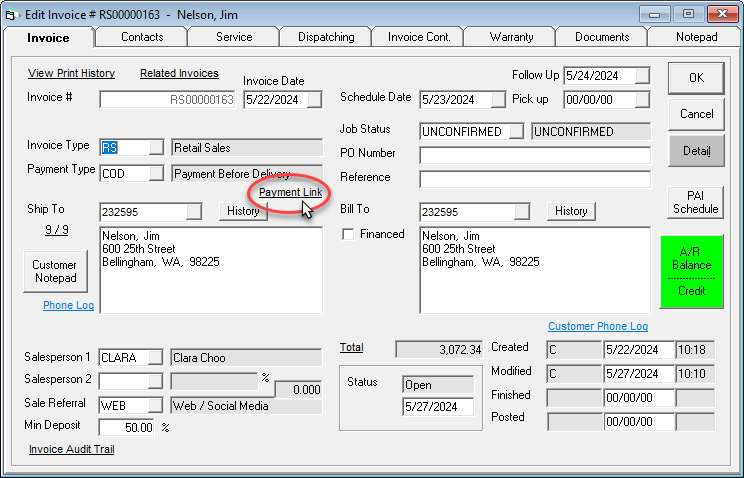
Payment links are generated from the customer's invoice header. Once the link is generated, you can copy it to the clipboard and then paste it into an email, a text field, or document. The link contains the URL of your Click to Pay page and an authentication token that automatically loads the customer's invoice number and amount owing.
Note: Before you can generate a payment link, you need to configure
Click to Pay.

Note: If you want the customer to pay a specific amount, click
the Requested Amount checkbox,
and enter the amount that you want the customer to pay. On the payment
portal, the customer will not be able to change the payment amount
when entering their payment information. To use this option, the EPASS
User needs the Click to Pay
- Allow Requested Amount security option.
Note: If you want to change how long the link will remain active,
enter an amount in the Expiry Days
field, and then generate a new link by clicking Generate
Link. If you set the Token Validity Days to 0, the Click to
Pay link is generated without an authentication token.

Important: Make sure to close the invoice before sending the
payment link to the customer. If the customer submits payment through
Click to Pay while the invoice is open, payment will not appear on
the invoice until it is closed.