Adding Extended Warranty to an Invoice
The warranty tab is where you can sell extended warranties. In System Maintenance, you can set up your extended warranties so they can only be sold for certain categories of product (using Warranty Types) or you can set them up so they can only be sold for product within a certain price range. These options will help prevent a salesperson from selling a minor product warranty for a major appliance.
When selling extended warranty, there are a few key fields that must be filled in.
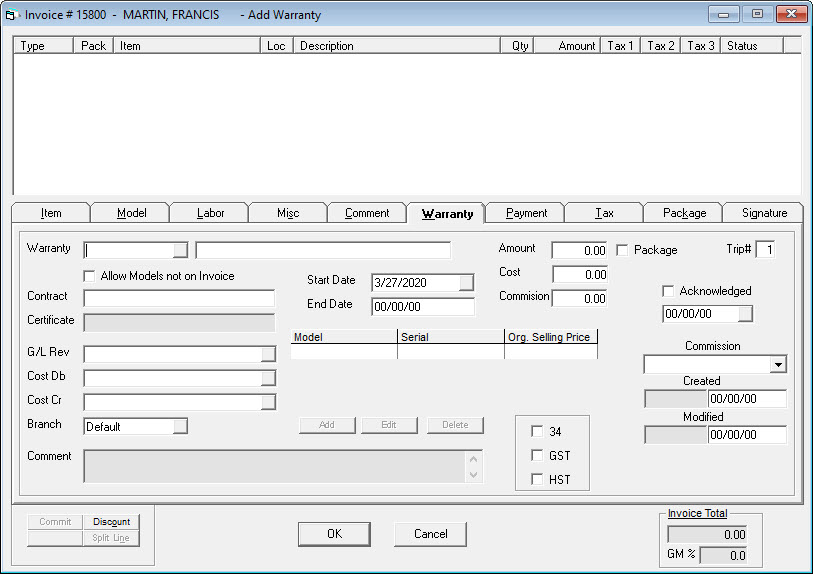
Warranty Code: Every extended warranty has a code assigned to it. Choose the appropriate code here. Quite commonly the codes used here are the same as your warranty provider uses.
Warranty Description: The description of the extended warranty. This defaults from the description entered in System Maintenance, but can be changed on each invoice.
Amount: The amount that you are selling the extended warranty for.
Those are the key fields you’ll need to add an extended warranty to an invoice.
Additional Fields
| Allow Models not on Invoice | If this is unchecked, the only warranties that will show up in the drop down are warranties that can be sold for the models currently on this invoice. If you have security to check this box then you will be able to sell any extended warranty, whether there is an applicable model on this invoice or not. |
| Contract | If your warranty provider gives you contract numbers for each extended warranty then that number can be entered here. |
| Certificate | This is a unique number for each warranty that is sold. Some warranty providers require this when uploading extended warranty sales to them. |
| G/L Rev | The general ledger revenue account for this extended warranty. Employees with a higher level of security can change this when adding/editing an extended warranty, but most employees cannot. Typically it defaults from the setting in System Maintenance. |
| Cost Db | The cost debit GL account for this extended warranty. |
| Cost Cr | The cost credit GL account for this extended warranty. |
| Comment | Displays the comment that is attached to the currently selected extended warranty. This comment will also be added to the invoice detail. |
| Start Date | The start date of the extended warranty. This defaults to the current date, but is updated to the delivery date when finishing the invoice. |
| End Date | EPASS automatically fills this in based on the number of months for the selected extended warranty. Like the start date, it is updated when finishing the invoice. |
| Cost | The cost for the currently selected warranty. |
| Commission | The commission amount (if used) for the currently selected warranty. |
| Tax (checkbox) | Whether tax is charged or not. If you have security you can check/uncheck this. |
| Package | Designates if this extended warranty is part of a package or not. This is covered in full in the Selling a Package on an Invoice section. |
| Trip # | This is only applicable for a service invoices. It designates on which trip this extended warranty applies to. |
| Acknowledged (checkbox) | Acknowledges that your extended warranty provider has received the warranty submission from you. WaCa is currently the only warranty provider with an automated process for acknowledgments, so unless you use WaCa this would be a manual process. This field is not used by most companies. |
| Acknowledged date | The date that the warranty provider acknowledged the warranty submission. |
| Created | The user who created this extended warranty line and the date it was created. |
| Modified | The user who last modified this extended warranty line and the date it was modified. |
Model/Serial List
This list displays the model and serial numbers that are covered by this extended warranty. There are a few possible ways this list can be filled in:
-
If the correct number of models were on this invoice that can be covered by this warranty, then they would have automatically been filled in when you clicked OK to add the warranty line to the invoice.

-
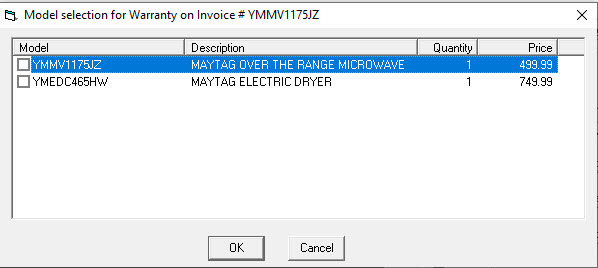
If there are more applicable models on this invoice than allowed by the currently selected warranty, then a message will be displayed asking which models this warranty will cover. Choose the appropriate models then click OK.
-
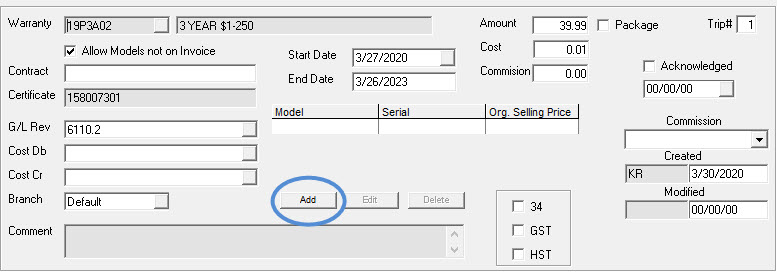
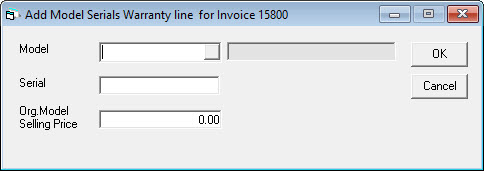
If Allow Models not on Invoice was checked then you will be able to enter any model/serial number, as well as the original selling price of that model. The original selling price is important if you use the extended warranty export features in EPASS. Just click the small add button below the model/serial list to manually enter a model/serial number.
-
If you have not entered all of the model/serial numbers required for the type of warranty that was sold, you will get an error message when finishing the invoice and it will not allow you to finish. You must have the correct number of models that this warranty is for. Also, if the warranty is covering models on this invoice, then the serial number will be filled in automatically when finishing the invoice, since you won’t know the serial number until after it has been shipped.